
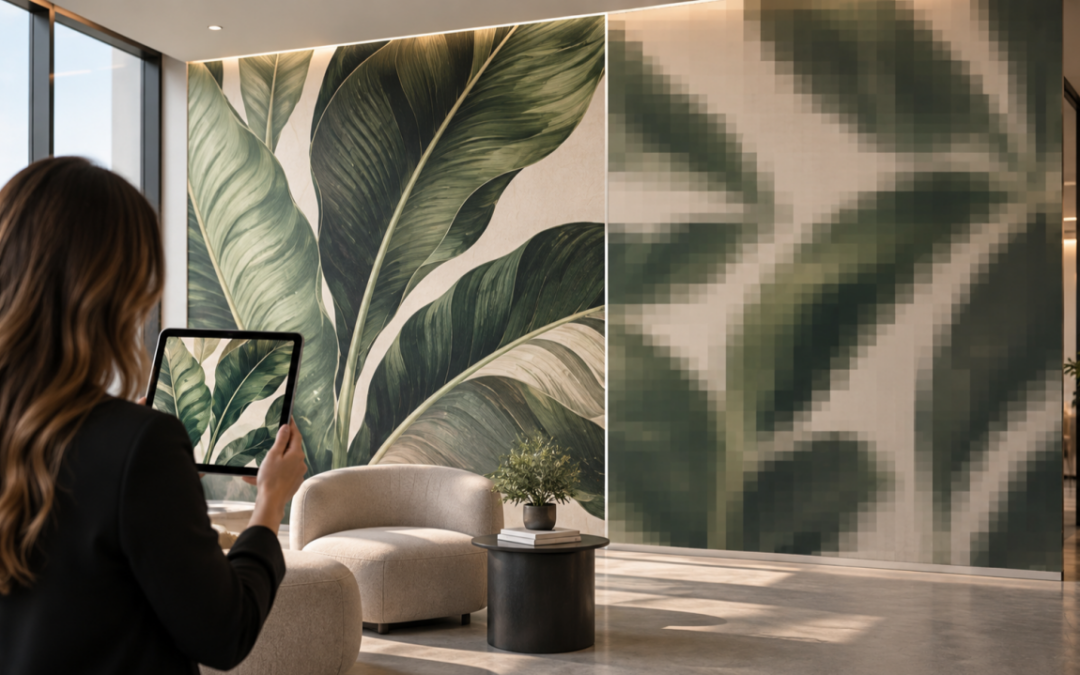
Artwork that looks sharp on a screen may become pixelated when enlarged for a custom wallcovering. Proper large-format printing resolution, the right file type, and a printed sample help designers avoid costly mistakes and achieve the intended result.
A digital wallcovering can start with a strong design concept, a great image, and a beautiful rendering. On screen, everything may look sharp. The colors may feel right. The client may approve the direction. The project may seem ready for production.
Then the artwork is enlarged to full wall scale, and the problem becomes obvious.
The image is soft. The detail is gone. Edges look fuzzy. What looked clean on a monitor now looks pixelated across a large wall.
This is one of the most common ways a digitally printed wallcovering can fail visually. The material may be correct. The wall may be properly prepared. The installation may be handled well. But if the artwork was not prepared for the final size, the finished graphic will not deliver the design intent.
Understanding large format printing resolution is essential when preparing artwork for custom wallcoverings. The right image resolution, file format, and production specifications help ensure that a design looks just as impressive on a finished wall as it does on screen.
In our work with digitally printed wallcoverings, we often see projects break down in three areas: material selection, wall preparation, and installation performance. Artwork quality connects to all three because even a properly specified and installed wallcovering can fail visually if the file does not have enough resolution for the scale of the wall.
For designers, the key is simple: do not judge large-format print quality by how an image looks on screen.
1. Build for the Final Wall Size
Understand Image Resolution for Large-Format Printing
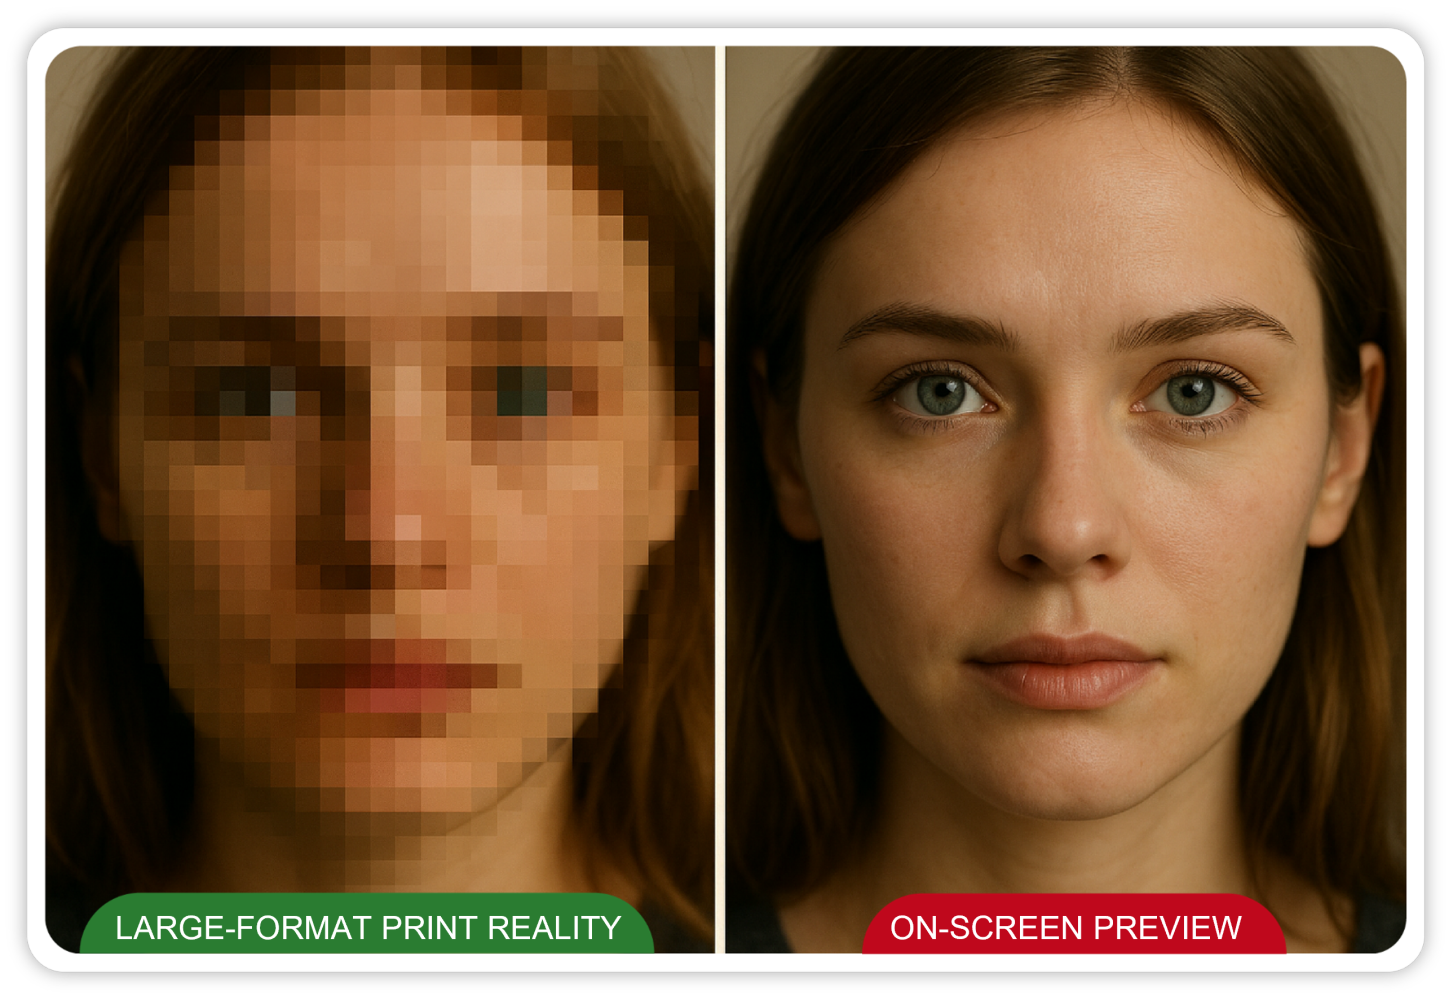
A low-resolution image can look acceptable on a computer monitor because it is being viewed at a much smaller size. Once that same image is enlarged to cover a full wall, there may not be enough image information to reproduce it cleanly. That is when pixelation, softness, and loss of detail become visible.
This is especially important with photography, murals, textures, patterns, scanned artwork, and images pulled from websites. A small image may work for a presentation, mood board, or rendering, but that does not mean it will work for a 12-foot wall.
Before production, artwork should be reviewed at the size it will actually print. The question is not, “Does it look good on my screen?” The better question is, “Does this file have enough information to hold up at full scale?”
2. Use the Right Type of Artwork: Vector vs. Raster
Not all artwork scales the same way.
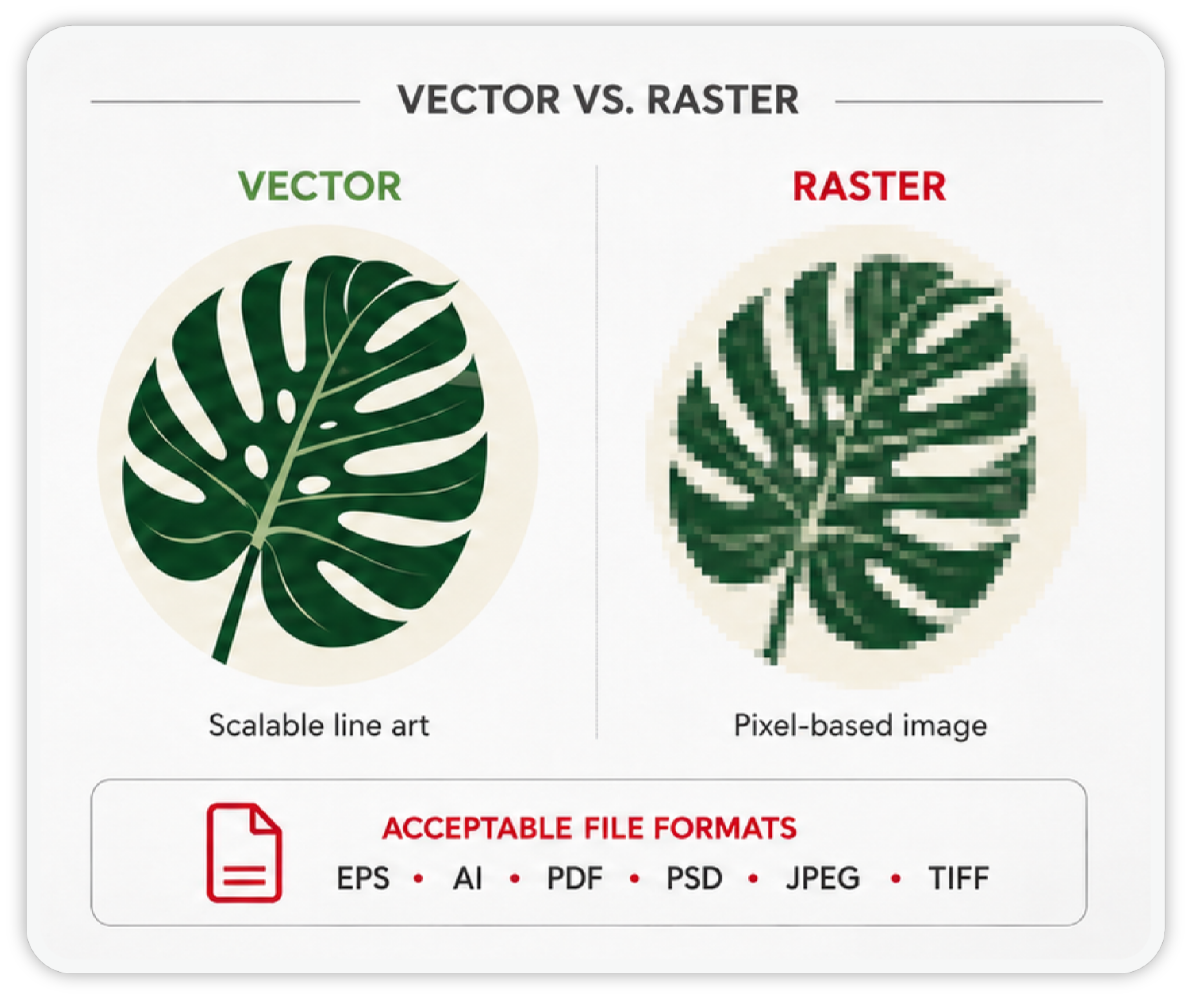
Vector artwork is usually best for logos, typography, linework, icons, shapes, and illustrations because it can be enlarged without becoming pixelated. Raster artwork, such as photographs and JPEG images, is made from pixels. As raster images are enlarged, the effective resolution decreases.
That difference matters in wallcovering.
A logo that looks fine as a small JPEG may fall apart when enlarged behind a reception desk. A photo that works on a website may not have enough resolution for a conference room wall. A pattern that looks clean in a rendering may show softness or distortion when printed full scale.
As a practical large-format target, we often look for about 150 PPI at final output size. If the artwork is built at 100 percent size, that means approximately 150 PPI. If the artwork is built at 50 percent scale, it would need approximately 300 PPI to produce the same effective final resolution. If it is built at 25 percent scale, it would need approximately 600 PPI.
The exact requirement can vary by project, viewing distance, image type, material, and production method. But the principle does not change. Artwork has to be prepared for final output, not just screen approval.
3. Approve a Printed Sample Before Production
The best way to reduce uncertainty is to print a sample before committing to the full wall.
A printed sample gives the designer and client a chance to review image sharpness, color, contrast, texture, finish, and material appearance in the real world. It also helps confirm whether the selected artwork and material support the intended design.
This step is especially important when the wallcovering includes photography, detailed patterns, brand colors, subtle gradients, fine lines, or images that have been enlarged significantly.
At Lettermans, we would much rather identify a file-quality issue during sampling than after the full wall has been printed. A sample is a small step compared with the cost of reprinting, delaying installation, or accepting a finished wall that does not look the way the designer intended.
Three Tips for Designers
Build for the wall, not the screen. Review artwork at the final printed scale before approving it for production.
Use the right file type. Use vector artwork for logos, typography, linework, and illustrations whenever possible. For photos or raster images, confirm the effective resolution at full size.
Approve a printed sample first. A sample helps verify sharpness, color, finish, and overall appearance before the full wallcovering is printed.
The Bottom Line
A great wall graphic starts before the printer ever runs.
The file has to be built for the wall, not just for the screen. When designers confirm artwork quality, prepare files correctly, and review printed samples before production, they protect the design intent and help the finished wallcovering look as strong in the space as it did in the concept.
Because in large-format printing, screen approval is not enough.
The wall is the real test.
Lettermans also offers a continuing education presentation on digitally printed wallcoverings for design professionals. The course covers material selection, wall preparation, artwork preparation, field verification, and installation coordination to help protect design intent from concept through installation.
Preparing Artwork for a Custom Wallcovering?
At Lettermans, we help architects, designers, and project teams move from concept to installation with confidence. Whether you need guidance on artwork preparation, material selection, or printed samples, our team can help protect your design intent before production begins. Schedule a consultation and see how Lettermans helps you see your vision in print.